Bash on Ubuntu on Windowsのchrootを試してみた
4/11の配信日が待ちきれないので、Insider Programに登録して新しいBash on Ubuntu on Windowsをいち早く試してみましたっ!
セットアップ
Windows Insider Program に登録し、Insiderのレベルを スロー に設定しました。

※登録してから更新が降ってくるまで、1日待ちました
Bash on Ubuntu on Windowsのバージョン確認
まずはBash on Ubuntu on Windowsの環境のバージョンを確認します。
uname -a と cat /etc/lsb-release で確認です。
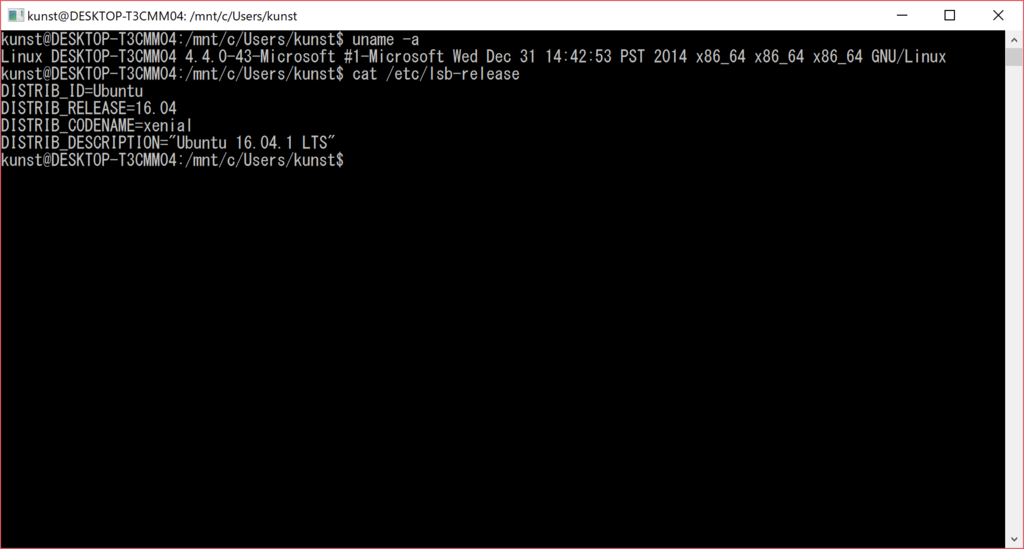
uname -aが
Linux DESKTOP-T3CMM04 4.4.0-43-Microsoft #1-Microsoft Wed Dec 31 14:42:53 PST 2014 x86_64 GNU/Linux
cat /etc/lsb-releaseが
DISTRIB_ID=Ubuntu
DISTRIB_RELEASE=16.04
DISTRIB_CODENAME=xenial
DISTRIB_DESCRIPTION="Ubuntu 16.04.1 LTS"
ですね。
ここで、Creators Updateしてない版のbash(以降、「現行」)の方も見てみましょう。

※別マシンなので解像度は小さいですが…‥
見ての通り、Ubuntuのバージョンが14.04から16.04に上がったのがわかります。
日本語の表示
現行ではターミナルに日本語を入力すると横が切れたりしますが、Creators Update適用後は切れずに表示されるよう改善されたみたいです。

chroot対応の確認 - コンテナで遊ぼう
現行のBash on Ubuntu on Windowsではchrootに対応しておらず、中でコンテナを起動させたり、無理やりArchLinuxを動かしてもpacmanでエラーが出るといった問題が発生1していました。
リリースノート2によると、Creators Updateにchroot対応が含まれているようです。そういうことなので、いろいろコンテナを作って試してみたいと思います。
※自分の中ではこれが今回の一番の目玉!!!
Ubuntuのコンテナの作成
必要なパッケージのインストール
# apt install debootstrap
debootstrapを使ったUbuntuのインストール
違いがわかりやすいよう、XenialではなくVividを入れます。
# debootstrap vivid /srv/chroot/vivid http://ftp.riken.go.jp/Linux/ubuntu/
# cp -L /etc/resolv.conf /srv/chroot/vivid/etc
デバイスのマウント
bashを閉じる度に設定し直しになるので注意
# cd /srv/chroot
# mount -t proc none vivid/proc
# mount -t sysfs none vivid/sys
# mount -o bind /dev vivid/dev
ログインと確認
# chroot /srv/chroot/vivid /bin/bash
コンテナ内で
# uname -a
# cat /etc/lsb-release

ちゃんと環境が変わってますね!
※少し遊んでみましたが、chroot環境ではターミナル内でスクロールできなかったり日本語を入力できなかったりしますね。()これは普通のLinuxとかでのchrootと同じかな)

sudo付きでchrootするとわかりやすいんですが、ホストのプロセスが見えてるっぽいんですよね……
Debianのコンテナの作成
※動かそうとしたらセグフォったのでパス!
ArchLinuxのコンテナの作成(ブートストラップイメージを使う方法)
ArchWiki3を見ながらインストールを進めます。
ブートストラップイメージの取得と展開
# cd /tmp
# wget http://ftp.jaist.ac.jp/pub/Linux/ArchLinux/iso/latest/archlinux-bootstrap-2017.04.01-x86_64.tar.gz
# tar xzf archlinux-bootstrap-2017.04.01-x86_64.tar.gz
# mv root.x86_64 /srv/chroot/arch
デバイスのマウント
# mount --bind /srv/chroot/arch /srv/chroot/arch
# cd /srv/chroot/arch
# cp /etc/resolv.conf etc
# mount -t proc /proc proc
# mount --rbind /sys sys
# mount --rbind /dev dev
# mount --rbind /run run
pacmanの設定
pacmanで使用するmirrorlistのファイルを先に修正しておきます。
# vim /srv/chroot/arch/etc/pacman.d/mirrorlist
好きなミラーサーバのコメントを外しておきます。
ログインと環境のセットアップ
ログイン
# chroot /srv/chroot/arch /bin/bash
コンテナ内で環境をセットアップ
# pacman-key --init
# pacman-key --populate archlinux
# pacman -Syy
# pacman -S base
動作確認(gitのインストール)
# pacman -S git

Archちゃん動きました。
ArchLinuxのコンテナの作成(LiveCD イメージを使う方法)
airootfs.sfsの取得
# apt install -y squashfs-tools p7zip-full
# wget http://ftp.jaist.ac.jp/pub/Linux/ArchLinux/iso/latest/archlinux-2017.04.01-x86_64.iso
# 7z x archlinux-*.iso
# cp arch/x86_64/airootfs.sfs /srv/chroot/
airootfs.sfsからルートイメージの取り出し
# cd /srv/chroot
# unsquashfs airootfs.sfs
# mv squashfs-root arch2
# rm airootfs.sfs
デバイスのマウント
# mount --bind /srv/chroot/arch2 /srv/chroot/arch2
# cd /srv/chroot/arch2
# cp /etc/resolv.conf etc
# mount -t proc none proc
# mount -t sysfs none sys
# mount -o bind /dev dev
# mount -o bind /dev/pts dev/pts
ログインと環境のセットアップ
ログイン
# chroot /srv/chroot/arch2 /bin/bash
コンテナ内で環境をセットアップ
# pacman-key --init
# pacman-key --populate archlinux
# pacman -Syy
動作確認(gitのインストール)
# pacman -S git
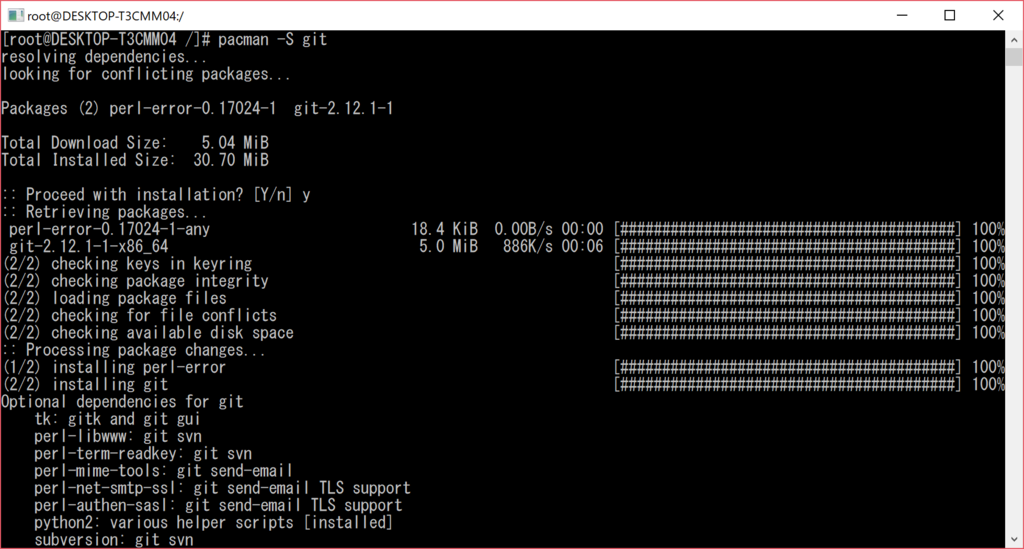
どちらの方法でも動くようです。
環境をArchLinuxに入れ替える
前回(http://www.kunst1080.net/entry/2016/08/26/001940)と同じ手順でできました。
違うところは
- isoのダウンロード用URLが変わってるので要チェック
- resolv.conf書きましょう
- pacmanでエラー出なくなってました。

前よりちゃんと使えそうです。
ひとまずこんな感じで!
これは本格的に色々コンテナ作って遊べそうです!!
参考URL
Running Archlinux in Bash on Windows
I have installed ArchLinux in Bash on Ubuntu on Windows(Windows Subsystem for Linux).
- Japanese - http://kunst1080.hatenablog.com/entry/2016/08/26/001940
- English - this
Installation
1. Install packages
Install tools for installation in Bash on Ubuntu on Windows(BoW).
apt-get install -y squashfs-tools p7zip-full
2. Download ArchLinux ISO
Download an ISO from mirror sites as you like.
wget http://ftp.jaist.ac.jp/pub/Linux/ArchLinux/iso/2016.08.01/archlinux-2016.08.01-dual.iso
3. Pickup the “airootfs.sfs” from ISO
Extract an iso and pickup the airootfs.sfs.
7z x archlinux-*-dual.iso
cp arch/x86_64/airootfs.sfs .
4. Extract the “airootfs.sfs”
Extract the airootfs.sfs with the unsquashfs command.
unsquashfs airootfs.sfs
Error has occurred, but it’s OK.

5. Move the squashfs-root to a rootfs.
Close ALL BoW windows.
Move the squashfs-root to root of BoW with Windows Explorer.
- root of BoW - %USERPROFILE%\AppData\Local\lxss\
- squashfs-root - %USERPROFILE%\AppData\Local\lxss\root\squashfs-root
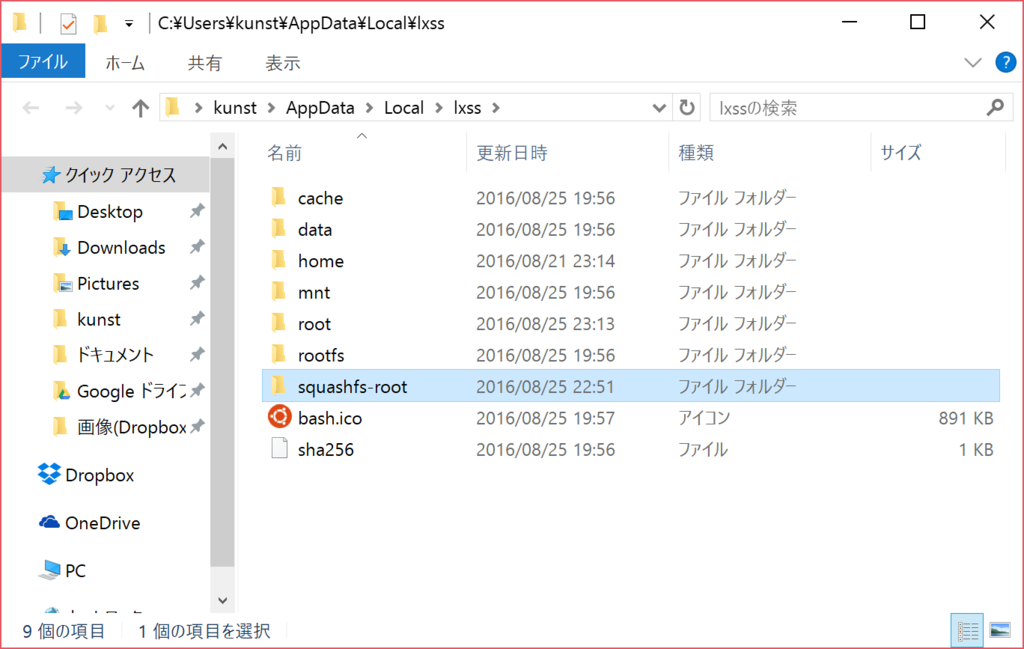
6. Backup a rootfs and substitute squashfs-root for rootfs

7. Open BoW
It’s ArchLinux!!

8. Setup pacman and isntall git
pacman-key --init
pacman-key --populate archlinux
pacman -Syy
pacman -S git

 Error has occurred when pacman -S (i guess it’s chroot?), I can use git.
That’s ALL!!
References
Bash on Ubuntu on WindowsにArchLinuxをセットアップする
Bash on Ubuntu on Windows(Windows Subsystem for Linux)上に、ArchLinuxをセットアップしました。
- Japanese -> これ
- English -> Running Archlinux in Bash on Windows - くんすとの備忘録
手順
1. 必要なパッケージのインストール
Bash on Ubuntu on Windows(以降はBoWと記載)上で、作業に必要なソフトウェアを先にインストールしておきます。
※BoW上での作業はすべてrootユーザで行います。
apt-get install -y squashfs-tools p7zip-full
2. ArchLinuxのISOを取得
好きなミラーサイトからArchLinuxのISOを取得します。
wget http://ftp.jaist.ac.jp/pub/Linux/ArchLinux/iso/2016.08.01/archlinux-2016.08.01-dual.iso
3. ArchLinuxのISOからairootfs.sfsを抽出
isoを展開してairootfs.sfsを取り出します。
7z x archlinux-*-dual.iso
cp arch/x86_64/airootfs.sfs .
4. airootfs.sfsを展開
unsquashfsコマンドを使用してairootfs.sfsを展開します。
unsquashfs airootfs.sfs
一部展開に失敗するファイルがありますが、気にせず続けます。

5. 「4.」で作成されたsquashfs-rootをrootfs化
BoWのウィンドウを全て閉じます。
WindowsのExplorerで、「4.」で作成されたsquashfs-rootをBoW環境のルートへ移動させます。
- BoW環境のルート - %USERPROFILE%\AppData\Local\lxss\
- squashfs-rootの場所 - %USERPROFILE%\AppData\Local\lxss\root\squashfs-root

6. rootfsフォルダを退避し、squashfs-rootフォルダをrootfsフォルダにすり替え

7. BoWを起動
ArchLinuxになっている!!

8. pacmanの初期設定と動作確認
pacman-key --init
pacman-key --populate archlinux
pacman -Syy
pacman -S git

 pacman -Sでエラーは出ていますが(chrootかな?)、gitコマンドは使えるようになったので、一応インストールはできている模様。
以上!!
参考URL
Bash on Ubuntu on Windows環境を再インストールする方法
手順
コマンドプロンプトを管理者権限で開いて
lxrun /uninstall /y
lxrun /install /y
で再インストールできます。
lxrunコマンドの解説
コマンドのヘルプは、
lxrun /?
で確認することができます。
C:\Users\kunst>lxrun /?
LX サブシステムの管理操作を実行します

使用法:
    /install - サブシステムをインストールします
        オプションの引数:
            /y - ユーザーに許可を求めません
    /uninstall - サブシステムをアンインストールします
        オプションの引数:
            /full - 完全アンインストールを実行します
            /y - ユーザーに許可を求めません
    /setdefaultuser - bash を起動するサブシステム ユーザーを構成します。ユーザーが存在しない場合は作成されます。
        オプションの引数:
            username - ユーザー名を指定します
            /y - ユーザー名が指定された場合、パスワードの作成を求めません
    /update - サブシステムのパッケージのインデックスを更新します
インストール・再インストールの他にも、デフォルトユーザの切り替えもできるみたいです。
参考URL
Ubuntu on Windowsで危険シェル芸やってみた
ネタです。
環境
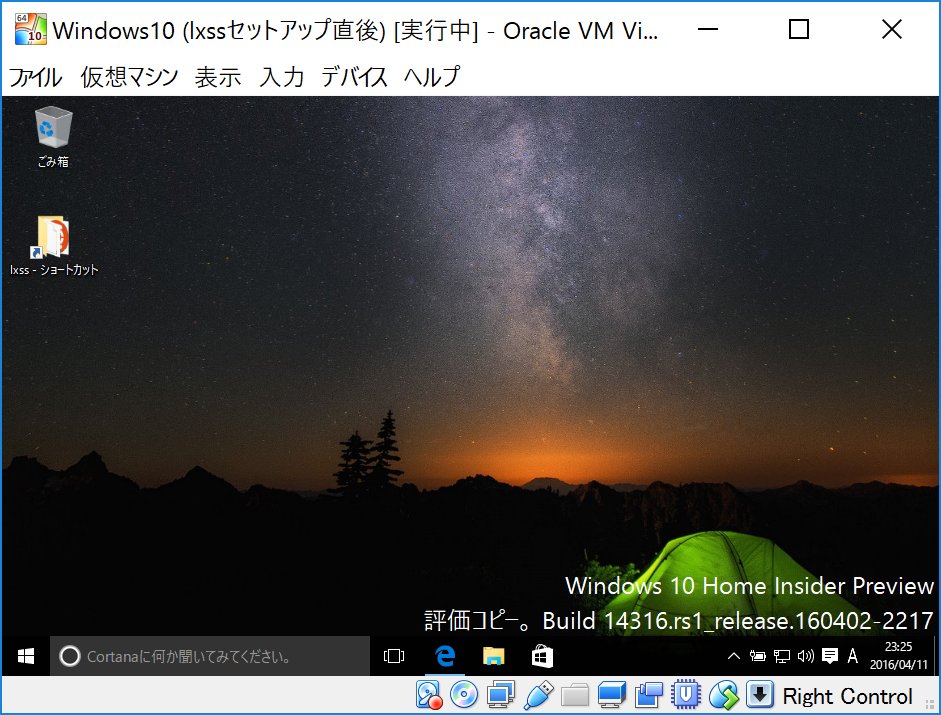
VirtualBox上のWindows 10 Home 64bit
レポート
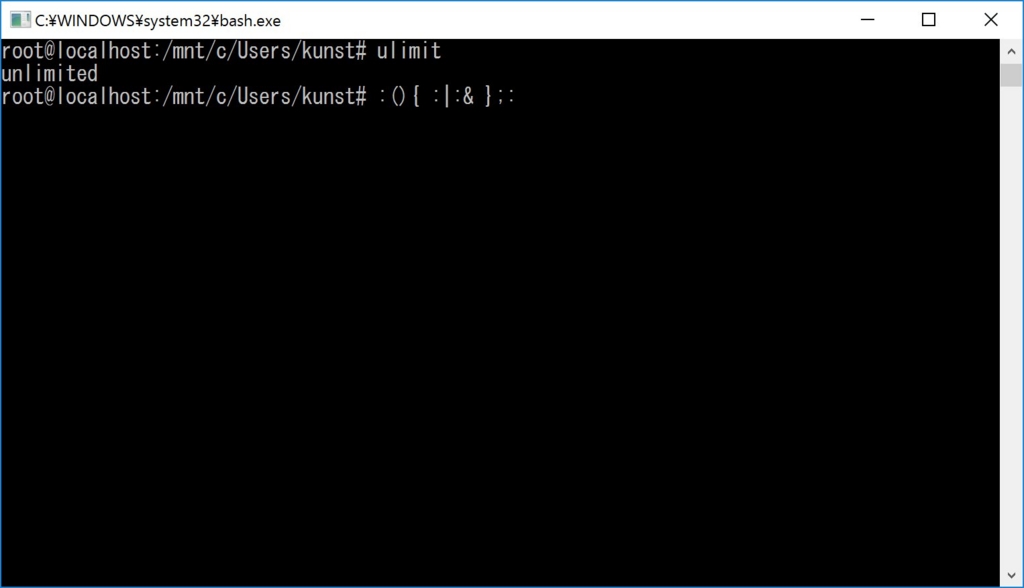
実行直前
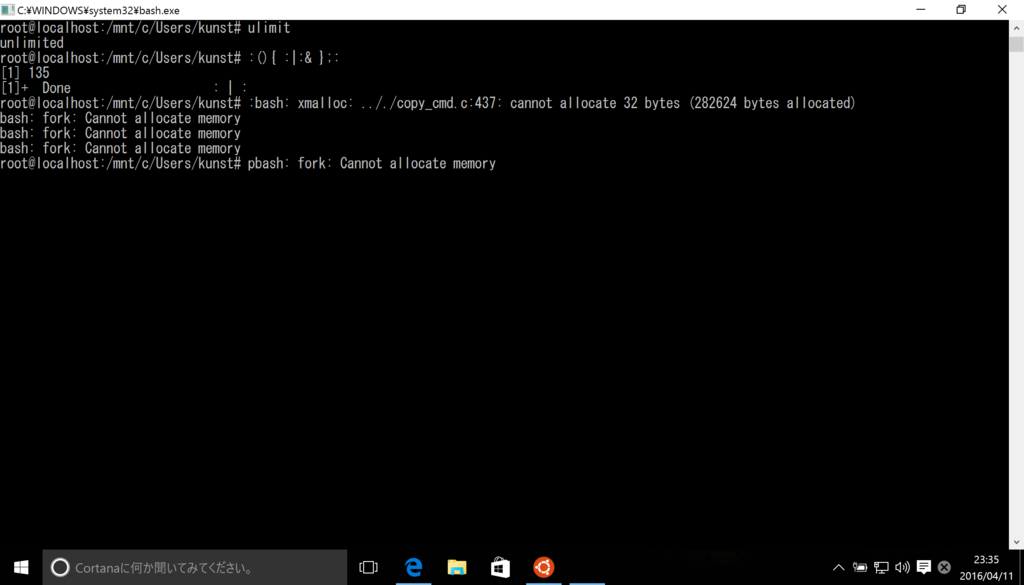
実行中…

数十秒後
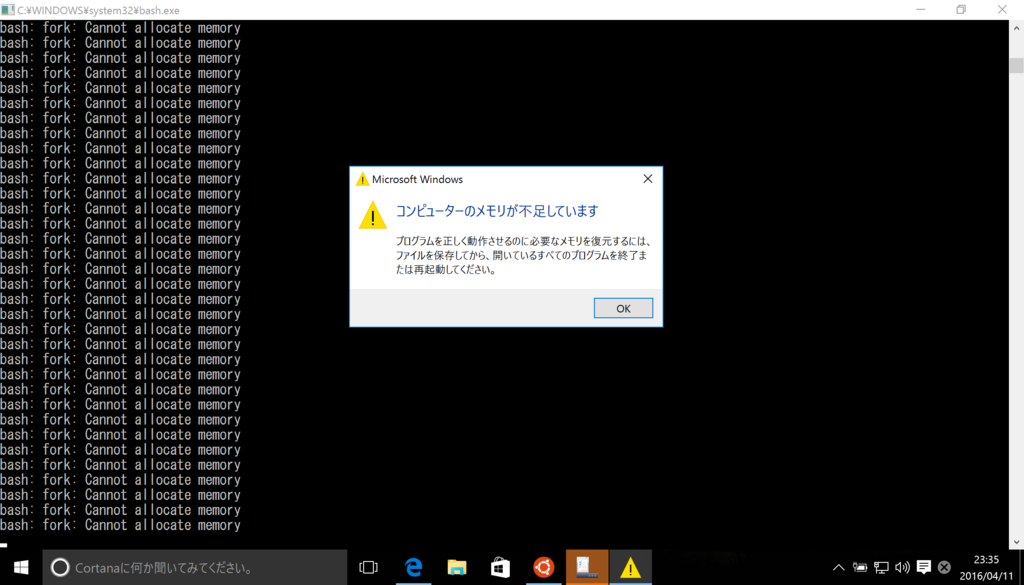
さらに数十秒後

エラーメッセージが表示されています
bashを閉じると元通りになりました
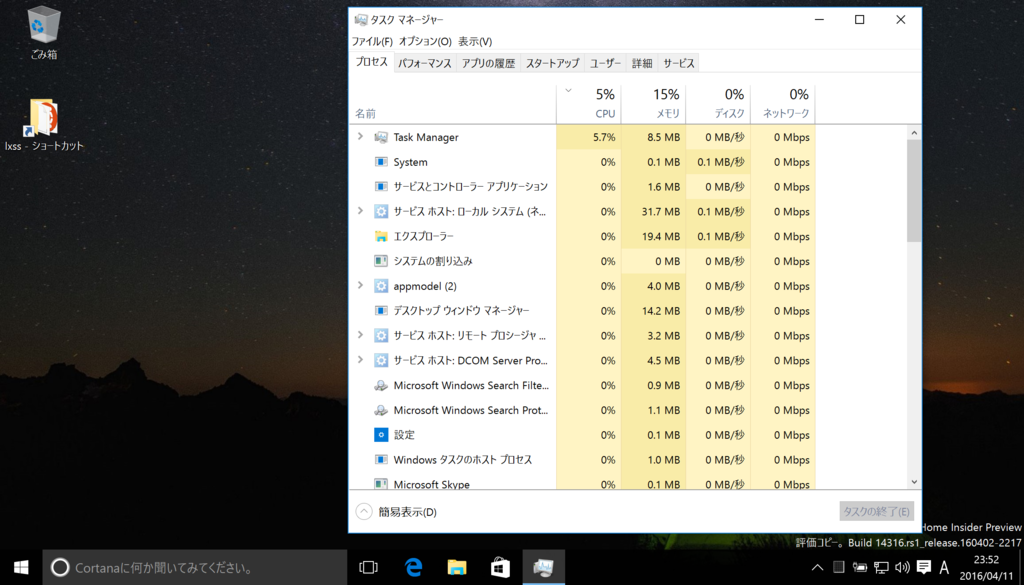
残念ながら(?)、死には至らなかった模様。。。